

Last month, for a friend's birthday, I decided to take the opportunity to use a new skull-shaped pan I had and make him a spooky cake! Since I know some of you like to bake, I thought I'd share the incredibly simple decoration details with you here. It's just a vanilla sponge cake (I made other bits of the cake too, but they weren't horror-esque), so I haven't included a recipe below, only decoration instructions.
This post is part of Fright-day Foods!

Step 1:
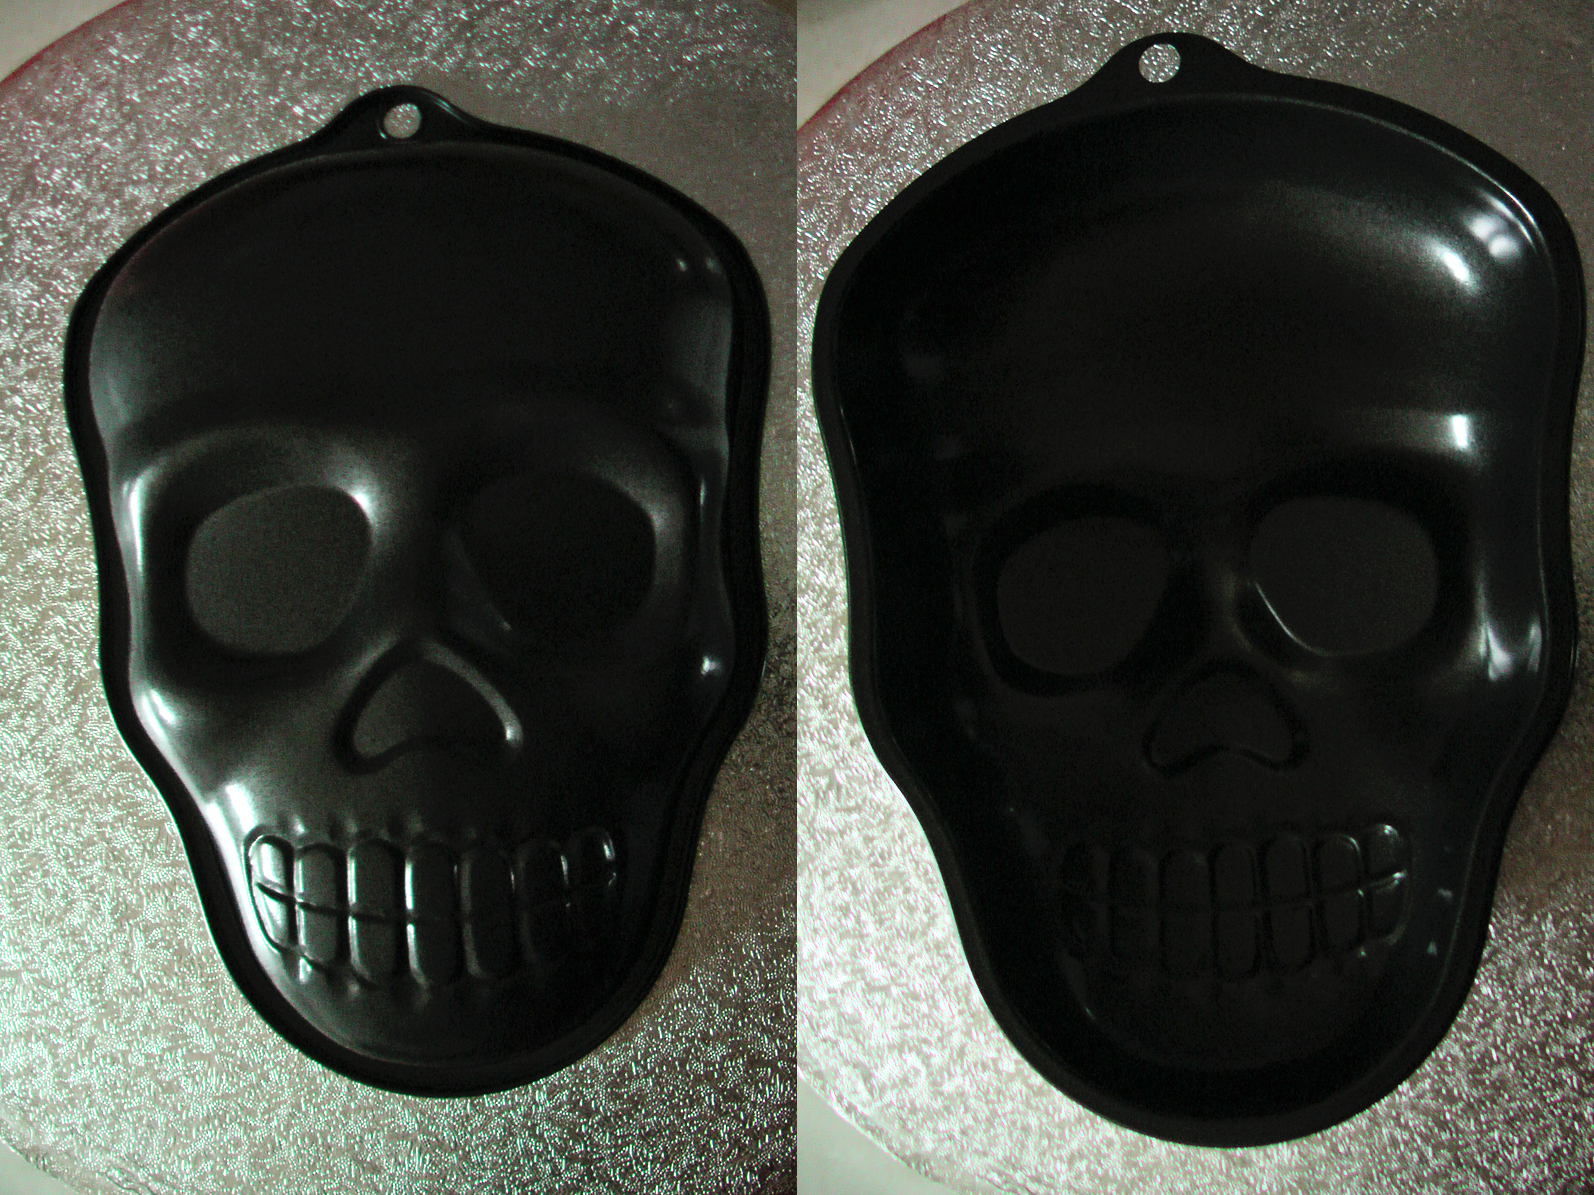
Use a vegetable oil spray to coat the inside of a non-stick skull pan. I actually forgot this step on this occasion, but it turned out perfectly well regardless. There are different brands of skull pan available, but the one I used was Eddington's Small Skull Pan. It works extremely well and gives a highly detailed cake. Make sure you choose one that has molding on both sides so that the cake still resembles a skull after baking.
Fill the pan with cake mixture, leaving approximately 2cm at the top to avoid spillage caused by rising. Bake your cake according to the instructions in your recipe.

When the cake is ready, leave in the tin to cool for around 10 minutes before turning out.

Step 4:
After the cake has cooled completely, put it onto the cake drum / board or plate on which you're going to decorate it (though it does look quite good undecorated too!)

Step 5:
Coat the cake in a very thin layer of a water & icing sugar mixture. You don't need much of it, but make sure that it is thick enough to remain slightly sticky after setting and so that it doesn't all soak into the cake.

Step 6:

Cover the entire cake with edible glitter in a colour of your choice. Make sure the glitter is actually edible, not just "non-toxic", as several food decoration brands are not meant to be eaten. I used Magic Sparkles in Violet, which is safe to be consumed.

List of other decorations used:

- Purple Sugar Roses
- Purple Icing Forget-Me-Nots
- Lilac Crystal / Diamante Butterflies
- Small Glittery Purple Butterflies
- Purple Miniature Tea Roses
- Purple & Black Bat Pix

Step 7:

Place the other decorations onto the cake according to your own taste. I simply pressed one purple sugar rose into each eye socket, pressed the forget-me-nots inside the outlines of the teeth. Then I pushed the wires / sticks of the other decorations either into the sides of the cake or between the underside of the cake and the drum. I also made the outline of the nose a little more prominent by scraping away some of the glitter, in a spade-like shape, using a cocktail stick.

FINISHED:

OMG so awesome! Love this!!!!
ReplyDeleteGlad you liked it, thank you :)
Delete