
 |
| My yarn dolls |
Kei of Unfortunately Oh! recently sent me a link to a tutorial, from Dollar Store Crafts, on how to make yarn "voodoo dolls". Since I collect voodoo dolls & toys related to them, I thought it would be great fun to try making some of my own voodoo doll toys and to share a how-to guide here on HSL! Mine came out looking rather different to the DSC one, but that's the great thing about these - they're so customisable! I also chose to make a decoration from mine, using an old light fitting that I had, but you could adapt them to go on necklaces, keychains, or anything else that takes your fancy too.
You will need:

- Yarn or string (colour of your choice)
- Needle and thread (same colour as yarn)
- Thin, bendable wire (colour does not matter as it will be covered)
- Sponge, cotton wool balls or foam (for the head)
- Scissors
- Glue (either hot glue or PVA glue, not super glue, as some super glue contains chemicals that melt yarn fibres. Although it fuses it together really well, it smokes and, if you use too much, it can cause a hole)
- Buttons & decorations
- Something to attach your doll(s) to *Optional*
Tutorial after the cut below↓:
STEP 1:
 |
| Make the head |
 |
| If you use cotton wool, 2 cotton wool balls make 1 head of the above size |
For the head, take either the sponge, cut into smaller pieces or 2 of the cotton wool balls and wind the yarn tightly around them to make the head. If your base is not already a sphere, you will need to make sure that you squeeze it into a round shape as you go. Fasten the end in place with a small amount of glue.
STEP 2:
 |
| Take your head |
 |
| Attach some yarn to the base of it |
Attach some yarn to the base of the head. The easiest way to do this is by stitching large loops through the head and then cutting the bottom.
STEP 3:
 |
| Wind the yarn around a length of yarn and wire for the legs, body and arms |
Cut a piece of wire, as long as you want one side (an arm, the body and a leg length) to be, and a length of yarn, twice as long as that, folded in half. Then wind more yarn around the wire and yarn length to give you the arms, legs and body pieces. Then bend those pieces into the correct shape.
 |
| Bend the two pieces into the correct shape |
STEP 4:
 |
| Wind more yarn around the body to join everything together and add embellishments |
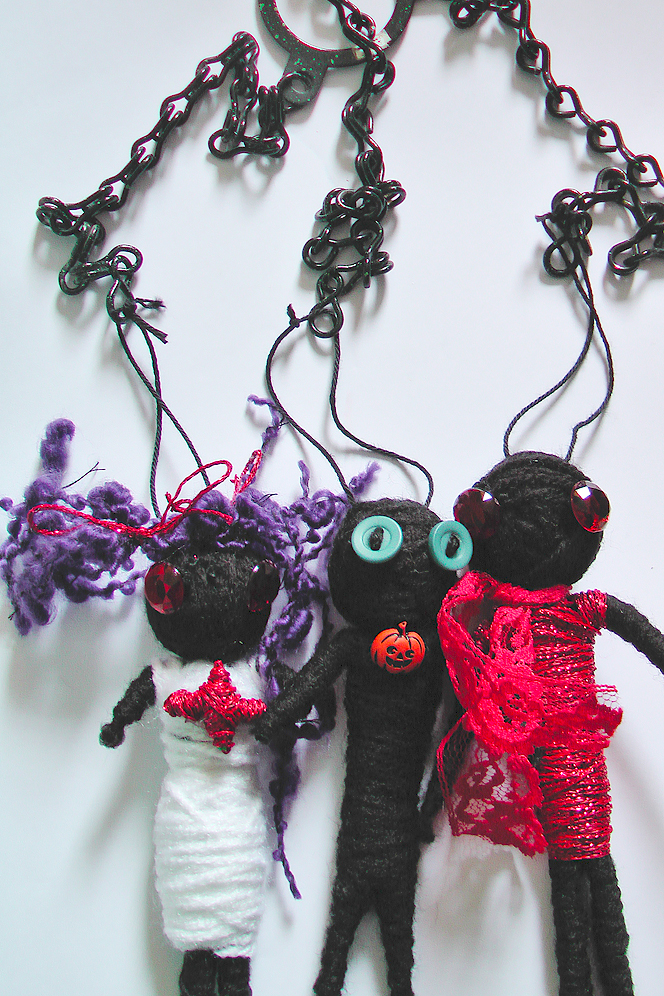
You can experiment with different body lengths, head sizes, limb lengths and colours until you find the one you like best. You can even add hair and clothing if you want to! Below are some more dolls I made:
 |
| Nurse Violet |
 |
| Bug Boy |
 |
| Pumpkin |
0 comments:
Post a Comment